Video is a useful tool for communicating information. It can be more engaging than text, and allows for demonstrating how things work in action. This page looks at how to use screen capture, phone captured video, editing, and captioning tools.
I believe however, video shouldn’t be the only means for communicating information. It uses a lot of data and it’s temporal – making it harder for people to skim. I personally, avoid resources which involve watching videos.
Capture
There are multiple methods of capture available, depending on your device. Mobile phones are convenient and of ever-increasing quality. Web cams are also useful as they make it easy to have a stable position. Video specific cameras will give the best video quality, but are also expensive and often bulky.
This is an open source screen capture program, which allows both recording and livestreaming using multiple inputs. So I can place a capture from my webcam over the screen. I can also crop and resize the capture, or make certain colours invisible. This would work better if I had a green screen but you can get the idea with this silly video I made here.
Editing in OpenShot
The result!
Captioning
Editing captions within YouTube
For short videos in particular, it’s easier to just work within YouTube.
On the Advanced page within YouTube’s editor, you must first select the language of the video.
Where captions are available, there is a link in a grey box, as here.
If there are no links here, click the UPLOAD SUBTITLES link to upload your own. The process for making new subtitles is in the next section.
Once you have a subtitle file, editing them in YouTube is fairly easy.
When playing through, hitting the enter key can break a subtitle into two screens at the point where the time slider is placed in the video.
When an incorrect subtitle is noticed, as it is in the image below, it’s a simple matter to fix.
Simply select the text in the subtitle box, in this case it’s the word ‘Tricky”. Then type the correct word, in this case “checking”. Clicking out of the box commits the change to the video.
Once all the subtitles are edited, click ‘Save changes’ in the top right hand corner and confirm by clicking ‘Publish’.
When YouTube Won’t Auto Generate
Sometimes, if your audio is distorted, YouTube won’t auto generate the captions. In those cases, I go straight to Aegisub. Firstly I import the video.
Then I switch the view to Audio and Subtitles only.
Once that is complete the interface is a lot cleaner.
In here, sections of audio can be selected by dragging or specifying a number in the box beside the subtitle. New subtitles are added by right clicking and selecting ‘Insert (after)’.
Once the subtitles are complete, they can be exported into various file types through the File tab.
To use the subtitles on YouTube, select the .srt (SubRip) file extension.
Accessibility is overlooked everywhere, regardless if spaces are physical or online. It is important to consider user needs to ensure as many people can access the content as possible. This post explores accessible web, the WAVE Web Accessibility Tool, image alt text, and video captioning.
To be truly accessible, the myriad effects disabilities can have on individuals need to be taken into account. This does not mean a list of all the possible disabilities that might exist, this means clarifying the accessibility issues that might cause problems to people with myriad forms of disability.
Accessibility is overlooked everywhere, regardless if spaces are physical or online. When planning events or tools, abled people like myself are likely to assume that the users of our plans will be similar to us. As tinapj writes in their article linked above; if an abled person thinks of someone with a disability, they are probably only going to think of a wheel chair user. Further, disabilities which aren’t visible are often ignored. Just as there are huge varieties in disabilities, each person will experience their disability differently.
The only way to really address this is to listen to disabled people and act on their advice. Every day they see the ways the world is built that exclude them. The web makes it easier to listen and, at this point, not considering accessibility is inexcusable.
Accessible Web
Within a web context, there are many guides about accessibility. The World Wide Web Consortium (W3C ) has a Web Accessibility Initiative which is a good place to start. They outline some of the disabilities relevant to web access as; auditory, cognitive, neurological, physical, speech, and visual. They also make the point that it’s not just people with disabilities who need these modifications, people with low bandwidth, or using devices with different controls also need these considerations.
There were a couple of areas of focus within this topic. Firstly, I had to make sure the website itself was optimized for accessibility. Secondly, I learned images need alt text so they are ‘visible’ to screen readers. Thirdly, I investigated captioning video.
A lot of WordPress themes are designed for accessibility as standard. You can search for them in the search bar using; feature:accessibility-ready. WordPress also provide guidelines about accessibility. However, for the website to meet the standards of accessible web, the content must also be modified to include things like alt text for images.
There are a lot of tools online for checking the accessibility of your website.
I simply pasted the URL for my website into the bar on the home page and it generated a list. These include errors, alertss, features, structural elements, HTML5 elements and contrast errors.
Headings
Through this tool I discovered I was using headings incorrectly. Headings allow users with screen readers to quickly navigate around a page.
If they are used stylistically as they were on my About page, they will make the website confusing and messy. I fixed this issue by using text style controls on a paragraph block.
This knowledge also influenced how I designed other pages. For example, I split my 23 Things page into 4 groupings; access, library tools, communication/education, and digital privacy. These have heading level 2. Then, each of the 6 numbered things within a group had a heading level 3. This was designed so that users wouldn’t have to sit through a list of 23 headings on the page if they wanted to return to a particular one.
Errors
At first I struggled to find what was triggering the Error alert. To find it, I had to view the HTML by selecting the ‘No Styles’ tab.
This showed that a comment box embedded by WordPress was unlabelled.
Unfortunately I don’t think there’s any way for me to resolve this within the WordPress.com platform.
Alt Text
Images which are part of understanding the website content require alt text. These are fed through to screen readers, so they need to be useful in their description. Images which are purely decorative should not have alt text.
Captioning video
It’s important to read about the best practice for captioning, as there are guidelines to make the text easier to read.
Captioning video is central to making content accessible. Not only is it important for deaf people, but it also makes the content available to people who cannot use sound on their devices. This section is about the options for captioning. There’s more of a rundown of the details of adding subtitles in my post about Video.
This program makes it easy to time the subtitles just right.
It gives you an idea when your subtitles are not displayed long enough for the number of words. It does require a separate program to add them to the video, but you can use YouTube. It won’t sense any of the text, you have to write it all yourself.
YouTube
YouTube has the ability to add subtitles to your videos. It can even automatically generate them with reasonable accuracy. This makes the process a lot easier, you’re essentially editing instead of starting from scratch. However, it can be easy to overlook the words that YouTube has recorded incorrectly.
You don’t get fine detail control. If you need to you can download the subtitles from YouTube and perfect them in another program like Aegisub.
Captions as default
I wanted captions to be the default on my videos. To do this, I used Cindy Hernandez’s guide on How to force Closed Captions. Firstly I added this tag to the video;
yt:cc=on
Then I added the following piece of code to the end of the embed link;
?cc_load_policy=1
Transcription
In some cases where you can’t add captions because the video is being hosted by someone else, providing a transcription of the audio can assist. You can see an example of a transcription I’ve completed on my Transcriptions page.
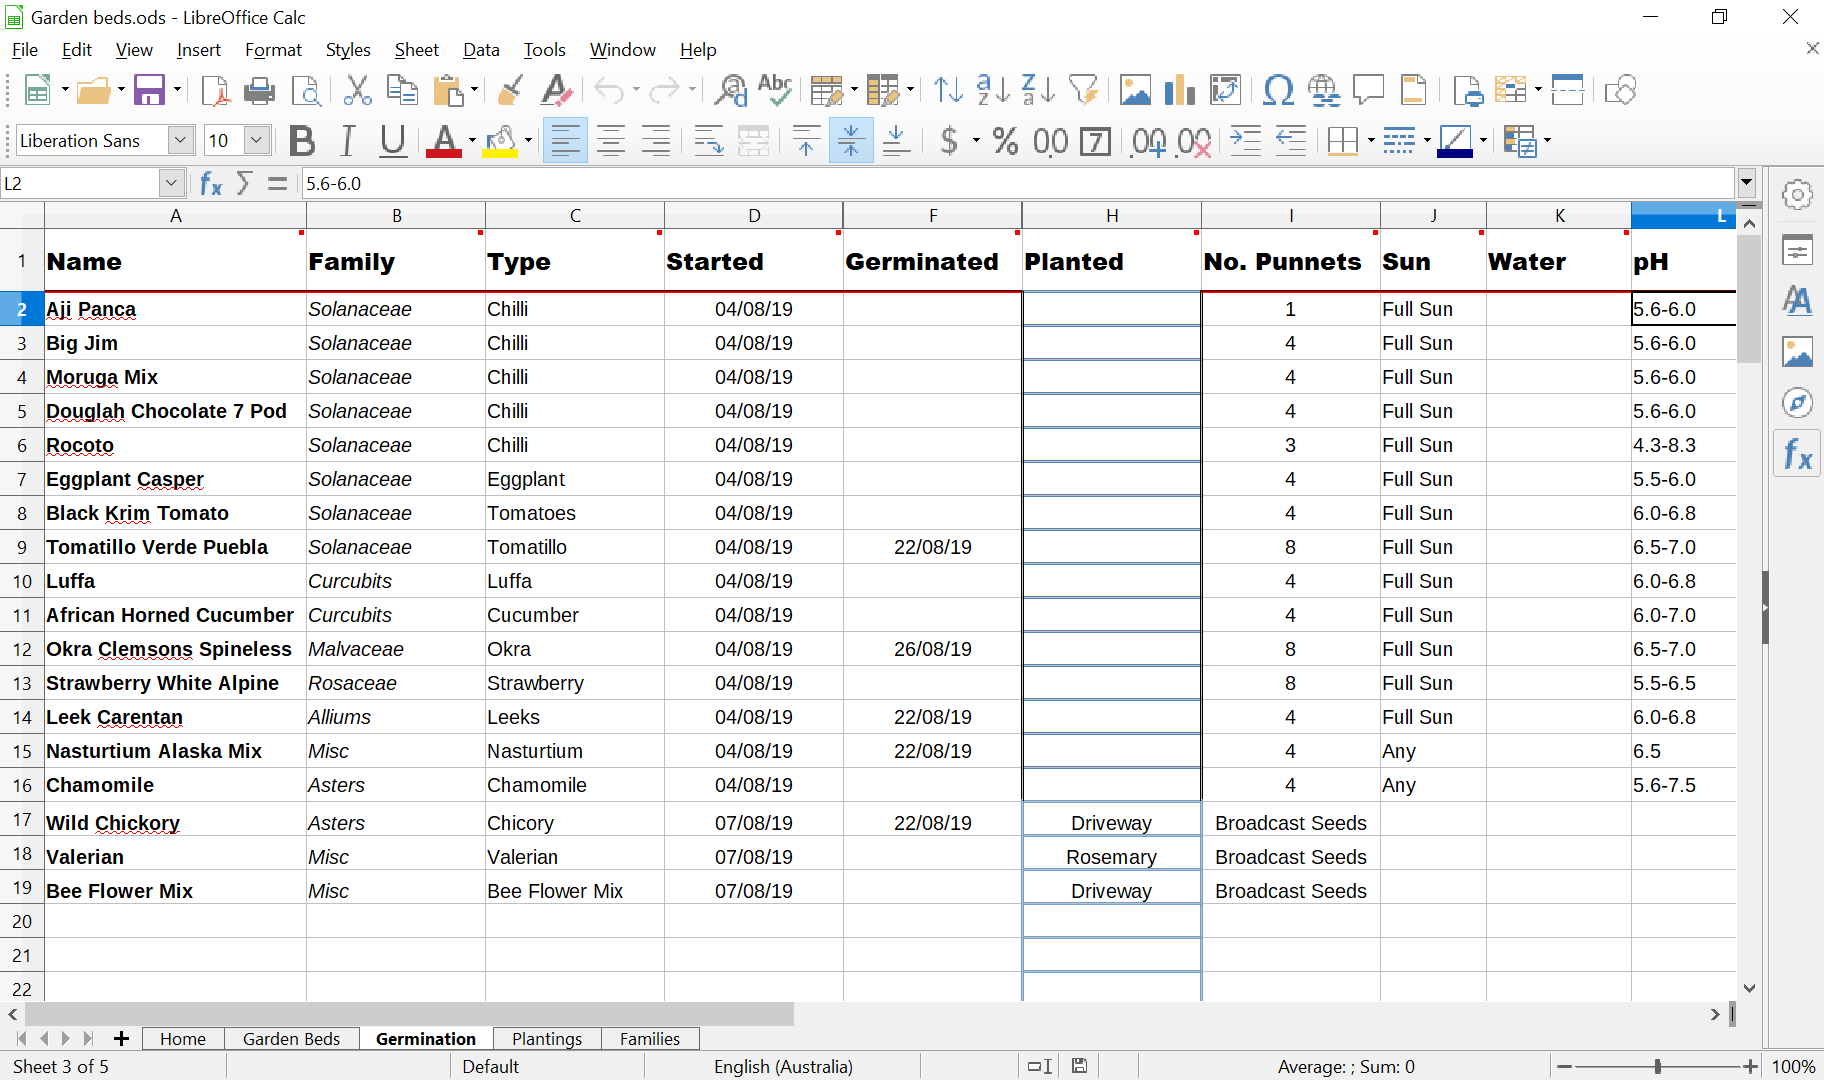
Tools such as Excel and its open source competitor Calc are useful for managing all kinds of data. Because of their flexibility it is possible to hone in on a particular task and construct useful tools for data management. This post explores a particular spreadsheet I made in LibreOffice Calc, which uses array functions and dynamic named ranges to keep track of garden beds and plant germination.
As part of this project, I wanted to become more confident with Excel. However – I wanted to try out the open source version Calc, published as part of LibreOffice. The interface and expressions are very similar. Because embedding the sheets into the page was problematic I’ve included screenshots, walkthrough videos and code.
Selecting these images will open a new window.
Videos
The following three videos will walk you through the spreadsheet, the germination page, and the array functions used.
Code!
In hindsight, I could probably now write the code a lot cleaner, however these are some of the significant codes in the cells.
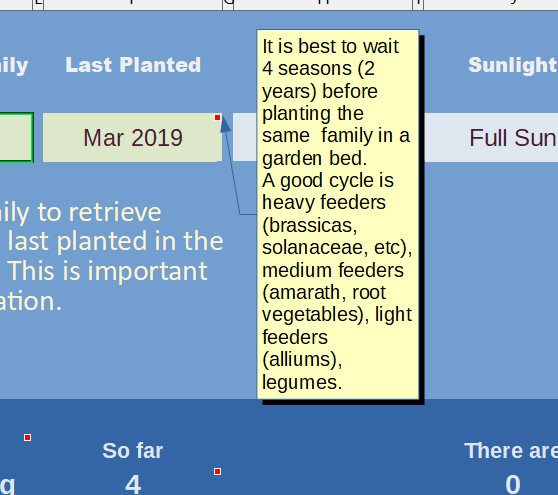
This is the code which returns the most recent date that a plant family was planted in a particular location;